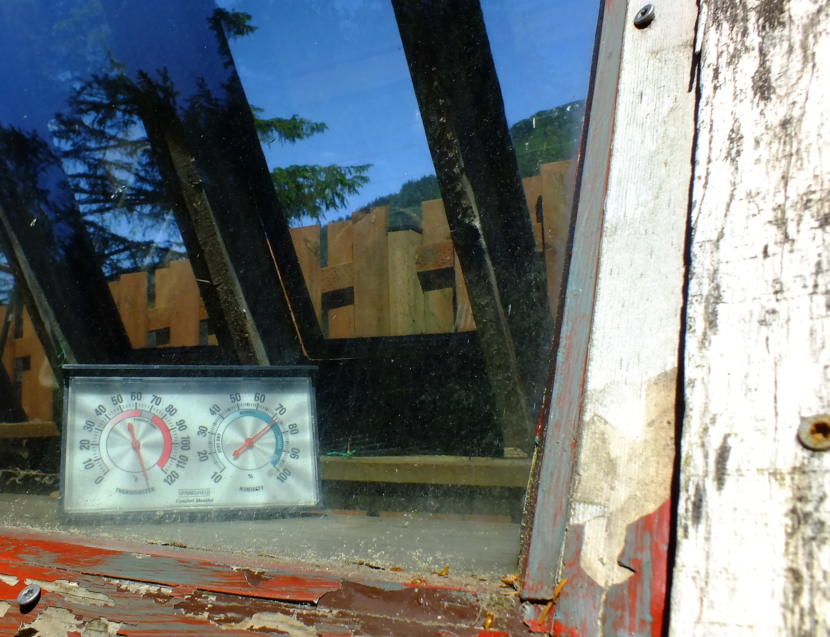
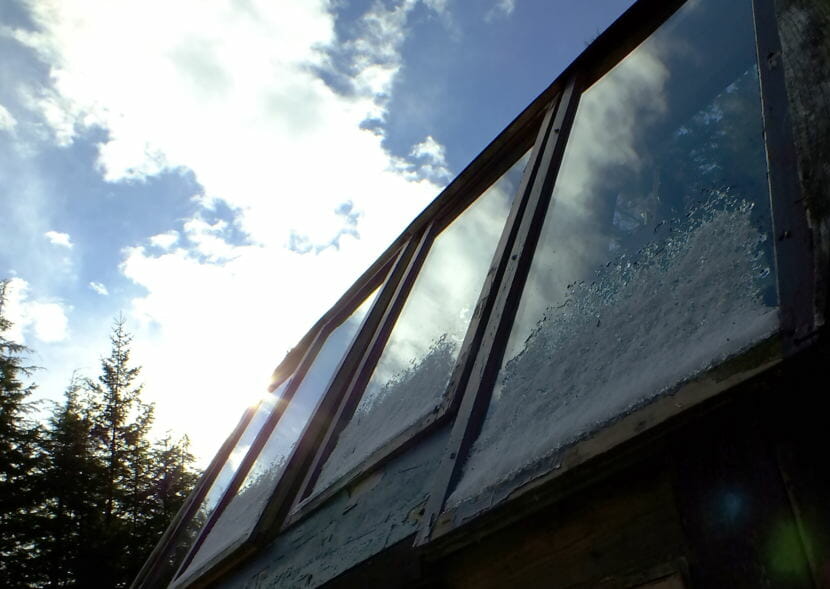
Air inside this North Douglas greenhouse made from upcycled double-paned windows already has exceeded 120 degrees and 70 percent humidity before noon in late May 2020. (Photo by Matt Miller/KTOO)
It is certainly possible for your greenhouse to start overheating, even in Southeast Alaska’s usually cool and damp climate. Not only will some plants and vegetables be unable to tolerate such extremely hot conditions, it would also be uncomfortable for a gardener to work inside.
Master Gardener Ed Buyarski recommends keeping greenhouse air from exceeding 100 degrees. That can be done by using fans and opening doors, windows, and vents to pull in cool air and push out hot air.
“They actually talk about moving a greenhouse full of air every minute or every two minutes,” Buyarski said.
High humidity, along with poor air circulation, can kick off rapid fungus growth.
Instead of spraying water on plants in the greenhouse, Buyarski advises using a drip watering system or soaker hoses in planters.
Don’t space your plants too close together. Otherwise, air cannot flow through them.
And, covering planter soil with plastic mulch will keep most of the moisture in the soil and prevent it from quickly evaporating into the greenhouse air.
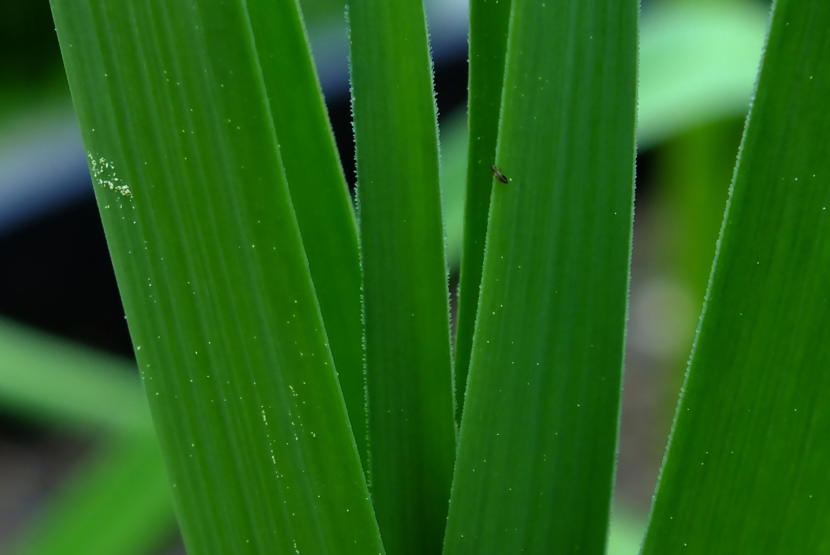
Super close-up view of pollen and a very small, winged visitor which have landed on garlic planted in a North Douglas garden. (Photo by Matt Miller/KTOO)
Master Gardener Ed Buyarski answered another batch of listener questions in this week’s segment.
Sheryll writes: “The bark on my well established (10-20 yrs old) Kiwi tree is peeling. Is that okay? Should I do something different?”
“That (peeling bark) is very normal,” Buyarski said. “Mine is, too. And, mine is 20 years plus in the ground, climbing on everything in sight or it can reach.”
Brooke writes: “We have a rising sun red bud (about) 1 year old and top seems dead. Only lower branch flowering. Sandy soil. Should we prune off the dead part?”
“Yes,” Buyarski answered. “And, that’s probably the easiest thing in pruning in general. If you see dead parts on a plant, prune them to back to live wood where then it will, hopefully, heal over most quickly.”
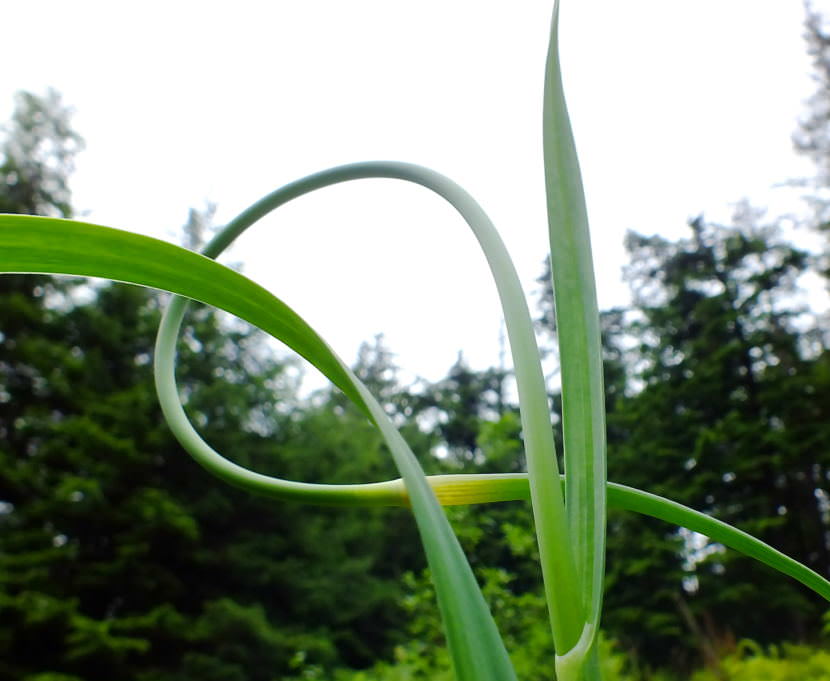
Alexander writes: “I have a community plot downtown planted with garlic by the person before me. Never had it before. When to harvest/let go to seed?”
Buyarski said most garlic should be thriving and well over a foot tall by now.
The garlic scape, or the bulbous, curling stem (see picture below), can be snipped off in a few weeks and used in recipes like green onions.
The rest of the plant, including the bulbs still in the soil, can be harvested starting in mid-July through August.
Garlic scape is all curled up in a North Douglas garden. (Photo by Matt Miller/KTOO)
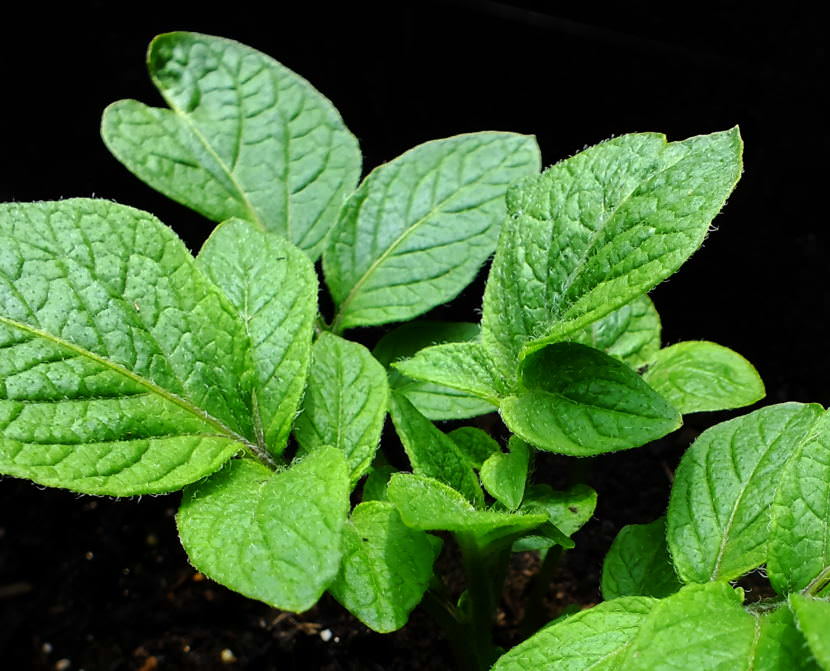
An artichoke seedling gets some water in a North Douglas garden in May 2020. (Photo by Matt Miller/KTOO)
Living in Southeast Alaska’s rainforest, it’s sometimes easy to forget when rainfall levels may be low. But even with the recent rainfall, this season could still shape up as similar to last summer’s dry conditions.
Master Gardener Ed Buyarski suggests gardeners continue checking the moisture levels of their trees, plants, and vegetables to make sure they get the water they need. He’s noticing that his primroses are wilting at the end of each day.
“If Mother Nature doesn’t provide, I guess we need to,” Buyarski said. “Or, we let the weaker ones get weeded out from the herd.”
How do you know if your plants need more water? Buyarski said it’s as simple as poking your finger down into the soil.
In pots or other containers, for example, dry soil may also pull away from the edges and start to crumble. Buyarski recommends spreading it out before watering or watering again to thoroughly moisturize the soil.
Constantly thirsty plants, like tomatoes, will noticeably wilt when they are not getting enough water.
You can water just about anytime of day, even during the height of the sun. But be careful about watering too late in the evening when little evaporation and cool temperatures can prompt fungus growth.
Buyarski also suggests looping soaker hoses around the drip line of trees and large bushes so their roots get adequate moisture.
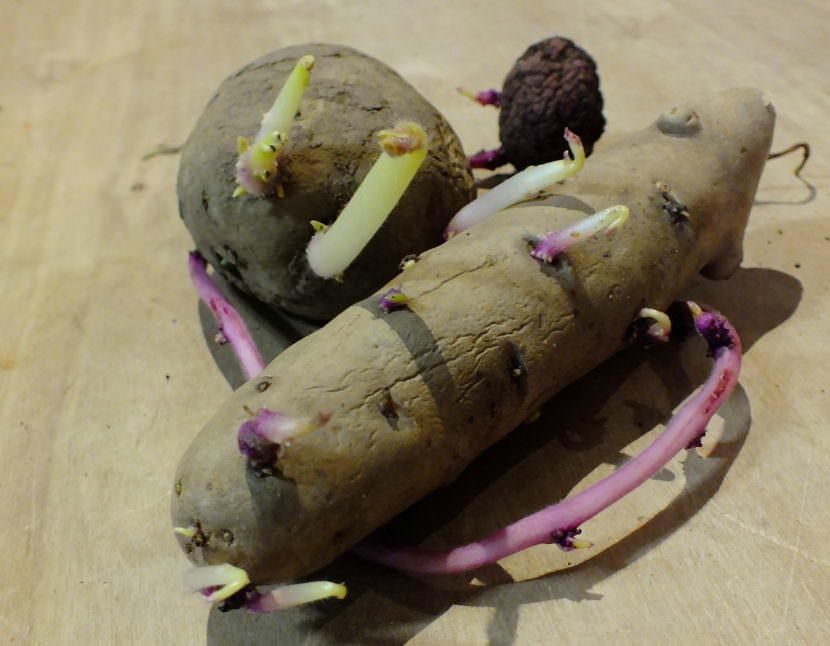
Three different varieties of seed potatoes await getting split up and planted. (Photo by Matt Miller/KTOO)
Potatoes are one of the biggest Alaska crops by poundage, and they are a great way to supplement your homegrown food supply during the current pandemic. But seed potatoes are currently in short supply in Juneau.
You may be lucky enough to already have seed potatoes. What next?
Master Gardener Ed Buyarski recommends splitting seed potatoes up into golf ball or ping pong ball sized pieces with at least an eye or two.
After sprinkling about a cup of 8-32-16 or 10-20-10 fertilizer along a 10 foot long trench about about 6 to 8 inches deep, plant the potato seeds with the eyes or sprouts pointing up. Just barely cover the seeds and sprouts with a half-inch of soil. Space the trenches at least 12 inches apart.
Reserve the rest of the soil piled up while making the trench until later when the potato plants grow to about 4 inches tall. Called hilling, the entire plant should be gently covered with that extra soil except for the very top of the plant. Keep repeating whenever the plant grows another 4 inches, as long as you have enough soil.
Buyarski recommends rotating your potato beds or growing in a new plot every year to avoid propagating potato scab, a fungus that can adversely affect your crop. He suggests planting cabbage, lettuce, beets, carrots, and turnips at least every other year in your old potato plot.
“Ideally, a couple years’ rotation is preferable,” Buyarski said.
Close up view of potato seedlings growing in a North Douglas garden. (Photo by Matt Miller/KTOO)
Buyarski also answered a related listener question:
Dan writes, “Is there anything useful can be done with fresh moss from a recently thatched yard? Mulch for potato beds?”
Buyarski doesn’t recommend using it in your potato bed.
“If you use the moss in the potato garden, then you going to have a new moss garden in your potato patch,” Buyarski said. “Then, you’re going to have to thatch the potato patch.”
Instead, he recommends using hot composting to kill the moss, using the moss as decoration on rocks, or using it to fill a low area in a yard.
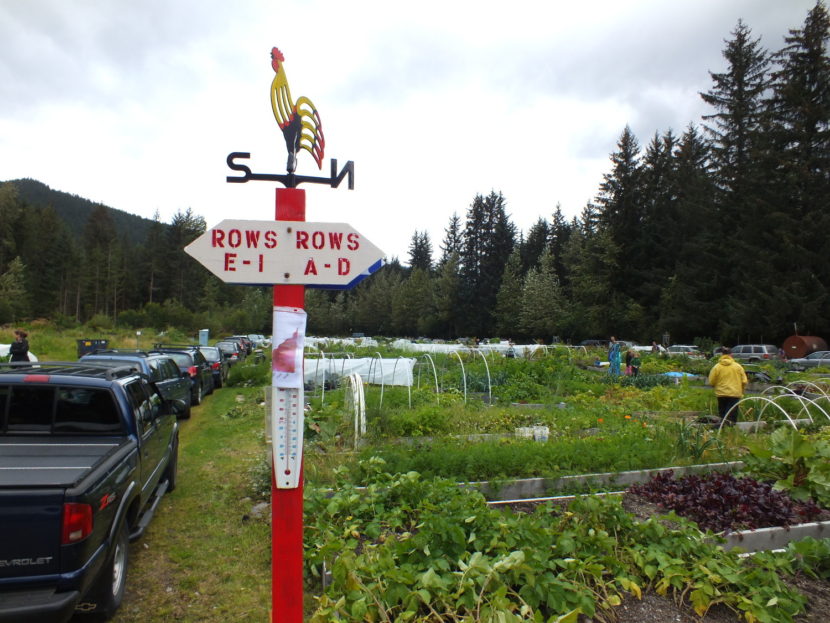
View of the Juneau Community Garden during the 2015 Harvest Fair. (Photo by Matt Miller/KTOO)
In this week’s edition of Gardentalk, tips for new gardeners hoping to add homegrown, fresh, tasty veggies to their diet while they’re hunkering down.
Listener Jennie writes: “Hi! Could you do a COVID Victory Garden episode for first-time gardeners who want to start a backyard or container food garden?”
Master Gardener Ed Buyarski said victory gardens apparently originated during World War I and were made popular by First Lady Eleanor Roosevelt during World War II with her garden at the White House. They were a way for the general population to grow fresh vegetables to supplement their rations while reducing trips to the grocer, preserving resources and building morale.
“Having that fresh produce a very short distance from the plants (or) the farm to the consumer is what we are aiming for here,” Buyarski said.
He recommends that any new gardeners should start small with something like a 4-feet-by-8-feet raised planting box (see recipe below) or with pots or other planting containers.
“You can grow all the greens you can possible eat,” he said.
Before planting, Buyarski suggests first warming the soil by covering with clear plastic.
Buyarski is currently planting kale, carrots, lettuce, peas and swiss chard from seed.
You can also find starts (young plants recently started from seed) at some retailers that you can plant in your new garden within the next few weeks. He recommends reading the seed packets or plant labels for recommendations on spacing, sunlight, watering and usual time it takes for plants to grow before harvesting.
Root crops like potatoes can provide more of a caloric bang for your buck, but — unlike many leafy greens — they can take a long time to grow before harvest.
Buyarski doesn’t recommend lining the bottom of your planter or pots with gravel or old crockery. Instead of filling planters with different materials, he said having a uniform layer of soil from the top to bottom will help with consistent drainage.
And the final and most important tip from Buyarski: “Plant the stuff you’re going to eat!”
Ed’s Raised Box Recipe
Box
Materials for a 1’ x 4’ x 8’ box — may be scaled up:
Two 1’ x 4’ x 8’ sides
Two 1’ x 2’ x 4’ ends
Four 2” x 4” x 12” ends blocking/reinforcing
Approx. 32 2.5” screws or 16d common nails
Flattened cardboard to cover 6’ x 10’ patch of lawn as weed barrier
Build box and place on top of cardboard.
Filling
4-6” manure fresh or composted-worm food/nutrients/organic matter
One or two buckets of fish scraps if you dare
Two buckets of coffee grounds — scent camouflage for fish with the manure
Four to six buckets of seaweed
Two to four buckets of spent brewers grain
Mix in one quart of wood ashes. Finish filling the box with good draining topsoil or even sand until heaping — this will settle.
Cover with clear plastic for the winter to allow worms and soil microbes to break down the mixture.
Cook for six months.
Uncover in late April/early May and add one quart of balanced organic blend fertilizer — well mixed in top 4” of soil.
Plant seeds and stand back
Water as necessary
PVC hoops covered with clear plastic may accelerate growth.
Harvest, Rinse, Repeat
Do you have a garden question for Ed? Fill out the form below, and he’ll answer your question in an upcoming segment.
Listen to past episodes and subscribe to the podcast on the Gardentalk page, so you’ll never have to worry about missing Thursday’s live radio broadcasts.
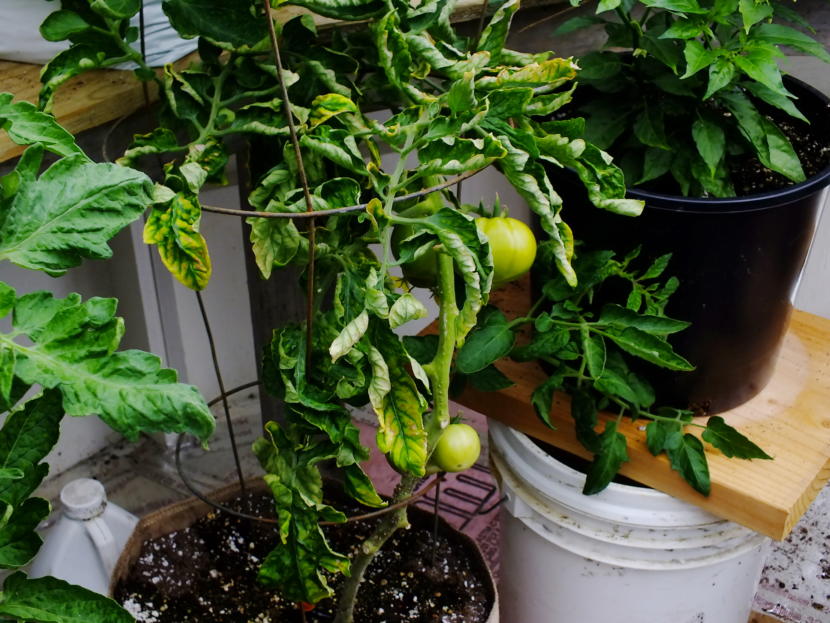
In this picture taken in early June 2019, tomatoes, peppers and other vegetables thrive in the scratch-built geodesic greenhouse that Tom Lafollette made at the Annex Creek Hydroelectric Facility in Taku Inlet. Lafollette explains that he’s set up an automated watering and venting system to keep the plants watered and the greenhouse ventilated. (Photo by Matt Miller/KTOO)
Master Gardener Ed Buyarski answers more listener questions in this week’s edition of Gardentalk.
Kathleen writes: “I have 20 year old soil that has been amended with compost over the years, but grew way too many weeds last year. How do I build it up?”
Buyarski said there are a few different things that Kathleen can do. First, she can cover the old existing garden soil with cardboard and then add new soil and compost on top.
Second option is she can try sifting the soil and picking out the weed seeds by hand.
The third alternative includes covering the garden bed with clear plastic to get the weeds to sprout early. She can then pick out the weeds by hand or torch them with a weed burner before adding a layer of new soil and compost.
But Buyarski cautions against digging too deep through the new soil layer, because that will start germination of the deeper, dormant weed seeds.
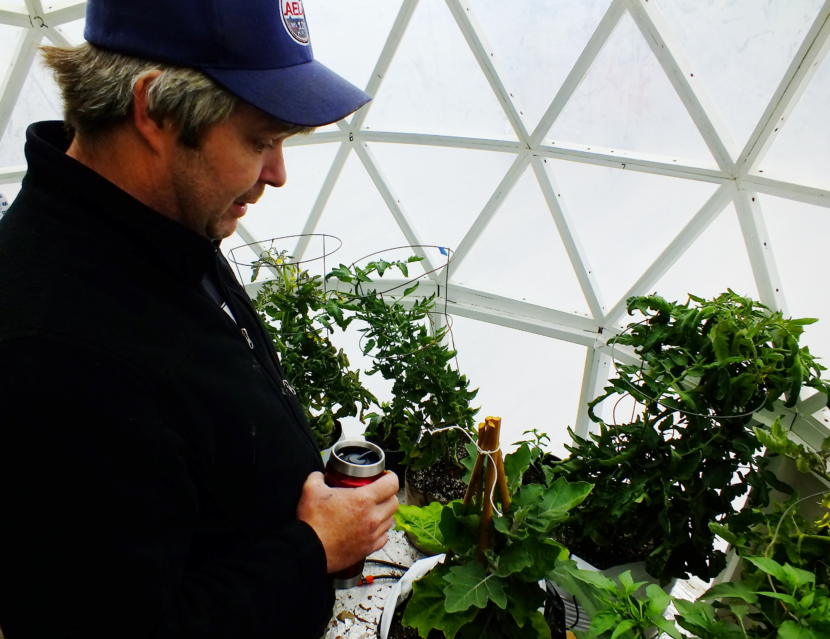
In this picture taken in early June 2019, Tom Lafollette, caretaker of the Annex Creek Hydroelectric Facility in Taku Inlet (obscured behind left side of greenhouse), explains to visitors how he built this scratch-built geodesic greenhouse for growing tomatoes, peppers, and other vegetables. The greenhouse is about 10 feet in diameter and is a slightly smaller version than a previous greenhouse he constructed from plans. (Photo by Matt Miller/KTOO)
In this picture taken in early June 2019, tomatoes, peppers, and other vegetables thrive in the scratch-built geodesic greenhouse that Tom Lafollette made at the Annex Creek Hydroelectric Facility in Taku Inlet. (Photo by Matt Miller/KTOO)
This North Douglas greenhouse, made entirely from discarded wooden pallets and upcycled windows, still needs more preparation for early spring use. (Photo by Matt Miller/KTOO)
Dan writes: “What material do you recommend for a small backyard greenhouse in SE? Glass, polycarbonate, double-wall polyethylene, others?”
Buyarski said it depends on how much money Dan is willing to spend and how much time he is willing to spend looking for salvaged materials.
Recycled, double-pane windows are great for new greenhouse construction.
Polycarbonate is durable and can really help extend a gardening season, but Buyarski said it can be very expensive.
Single-layer plastic over some hoops is a quick way to get started. But it won’t provide as much insulation and extend the season as much as a double-layered, inflatable plastic greenhouse.
Buyarski suggests making any greenhouse as large as you can, so it doesn’t overheat and there is enough ventilation and air movement inside.
Do you have a garden question for Ed? Fill out the form below, and he’ll answer your question in an upcoming segment.
Listen to past episodes and subscribe to the podcast on the Gardentalk page, so you’ll never have to worry about missing Thursday’s live radio broadcasts.
Close
Update notification options
Subscribe to notifications
Subscribe
Get notifications about news related to the topics you care about. You can unsubscribe anytime.